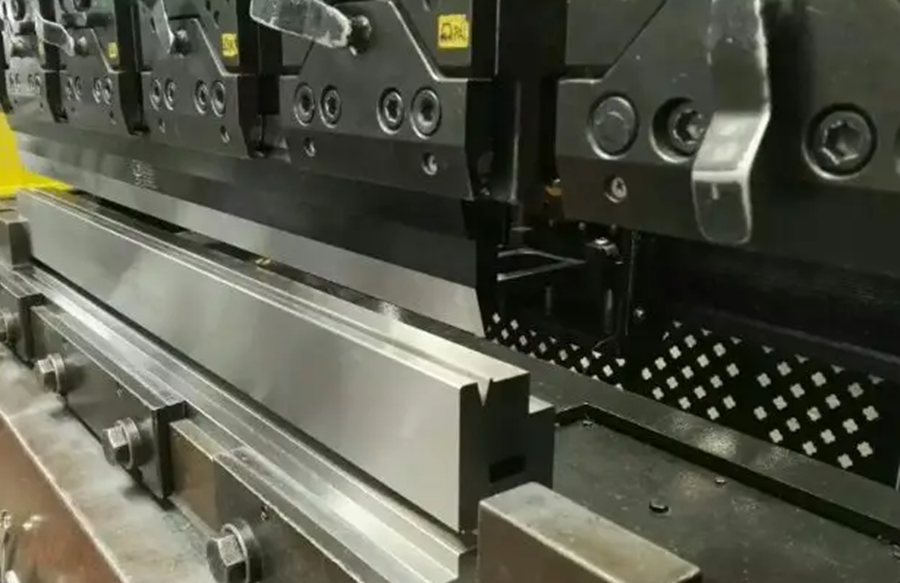
Key inspection points of NC bending
1. Check the drawing to confirm whether it is the first corner view or the third angle view, and confirm whether the bending direction is correct according to the drawing using the perspective drawing method.
2. Confirm whether the material and plate thickness are correct according to the drawing, inspect each bending dimension according to the drawing, and give priority to the tolerance dimension and hole to edge dimension.
3. Check whether the bending tool mark meets the product requirements. If the surface is not treated, A1 surface is not allowed to have defects such as indentation, indentation and scratch. Level B surface has certain restrictions on defects such as indentation, indentation and scratch, according to customer requirements or factory standards.
4. For electroplated products, the material surface shall be free from scratches, scratches, imprints, indentation, rust and other defects. Each product must be separated with clean and clean film and brushed with clean anti rust oil.
5. For the products processed with electrolytic plates, aluminum zinc coated plates and aluminum plates without any surface treatment, the surface shall be free of scratches, scratches, indentation, indentation and other defects. The processed products shall be separated with paper sheets, and the stacking and placement shall meet the transportation requirements. The products shall not be placed too high, and the lower layer of products shall be deformed.
6. For aluminum products that need to be processed in bending after wire drawing, the surface of the product shall be free of scratches, scratches, indentation, indentation and other defects. After processing, plastic bags, or pearl wool, bubble paper and other packaging materials shall be used for protection to prevent workpieces from being scratched each other during the transfer process.
7. If there are scratches, scratches, indentations, imprints and other defects on the workpiece surface, please judge according to the customer’s requirements or the standards implemented by the factory.
8. For products processed in batches, random inspection shall be carried out at the processing site every 0.5 hours to prevent batch defects caused by die wear, loose positioning gauge, incorrect alignment of the program modified by the operator, etc.
9. During the final bending inspection, in principle, the first inspection personnel and the final inspection personnel should be staggered, that is, the first inspection and the final inspection cannot be inspected by the same person (in order to prevent inertial thinking, resulting in processing errors that cannot be detected), and the final inspection should be conducted in strict accordance with the sampling standard. Sampling shall be decentralized to make the sample representative.


