Elimination method of error in NC machining spherical surface
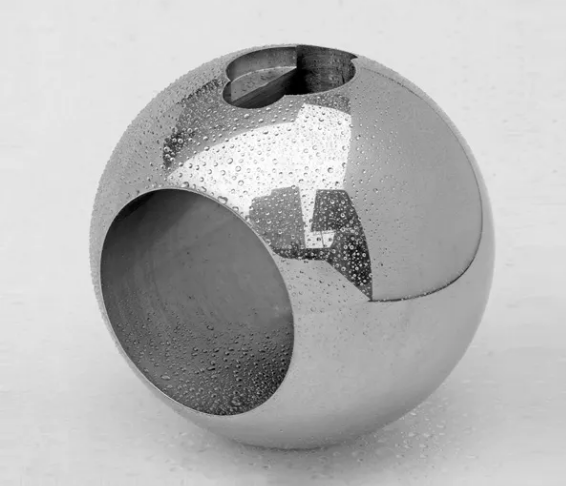
Because the ordinary lathe does not have the programming function like the CNC lathe, and cannot realize the automatic control of the tool head travel, it cannot directly process the spherical surface. The inner spherical surface processed by the CNC machining center is accurate in size and high in accuracy. However, for the workpieces with small quantity and large diameter of inner spherical surface, it is too expensive to use large CNC vertical lathe, and some errors will occur. So how to eliminate the error of NC machining spherical surface? Let’s introduce it in detail.
1、 Causes of errors in NC machining of spherical surfaces
When machining spherical surfaces, especially those with quadrants, it is easy to produce shoulder and shovel back due to improper adjustment. The main reasons are:
1. Caused by system clearance
In the transmission pair of the equipment, there is a certain gap between the lead screw and the nut. With the increase of the operation time of the equipment, the gap will gradually increase due to wear. Therefore, the corresponding gap compensation during the reverse movement is the main factor to overcome the shoulder on the processing surface. The clearance measurement usually adopts the dial gauge measurement method, and the error is controlled within 0.01-0.02MM. It should be pointed out here that the watch base and the watch rod should not extend too high and too long, because the cantilever is long during measurement, the watch base is easy to move under force, resulting in inaccurate counting and unrealistic compensation value.
2. Uneven machining allowance of workpiece
Before the design surface of the part is realized, whether the machining allowance of the surface to be machined is uniform is also an important reason for whether the molding surface can meet the design requirements, because the uneven machining allowance is easy to cause “reflection” error. Therefore, for parts with high surface shape requirements, the machining allowance shall be as uniform as possible or the method of machining one more profile shall be adopted to meet the design requirements before forming.
3. Improper tool selection
The tool removes material through the main cutting edge in cutting. However, after the arc machining passes through the quadrant, after the arc is tangent to the cutting edge of the tool pair (the intersection line between the back of the pair and the base plane), the cutting edge may participate in the cutting (that is, the back of the shovel). Therefore, the wedge angle of the tool must be considered when selecting or grinding the tool.
2、 Elimination method of error in NC machining spherical surface
When machining a sphere, the sphere may be large in the middle and small at both ends, or small in the middle and large at both ends. At this time, the radius of the sphere should be adjusted to control. If it is large in the middle and small at both ends, increase the radius slightly. If it is small in the middle and large at both ends, this reduces the radius value. After adjustment, the roundness error of the ball can be less than 0.05mm.


