Common process structure of parts in casting process
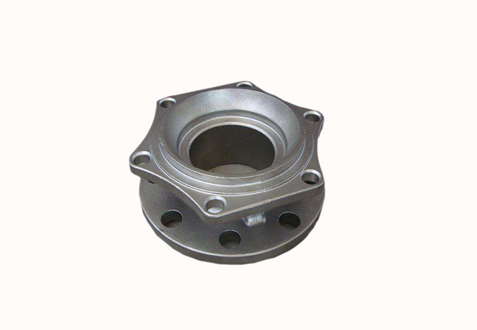
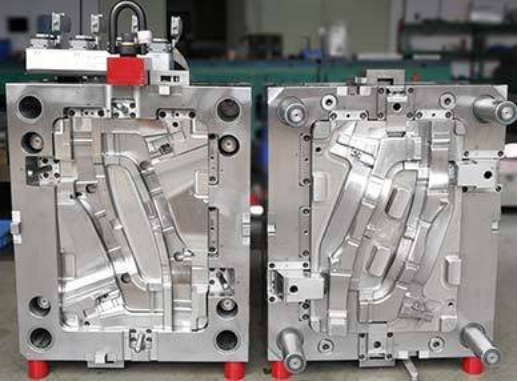
At the beginning of the design, the structural shape of the parts needs to meet two major requirements, one is the design requirement and the other is the process requirement. At the same time, the structural design of parts should consider not only industrial aesthetics and modeling, but also technological possibility. Most of the common structures on parts are obtained by casting (or forging) and machining, so they are called process structures. Understanding the common process structure of parts is the basis for learning part drawings.
Casting process structure on parts
1. Cast fillet
In order to facilitate the casting molding, avoid sand falling at the corner of the sand mold when the mold is lifted from the sand mold and washing the corner during pouring, and prevent casting defects such as crack, loose structure and shrinkage hole at the corner of the casting, the intersection of adjacent surfaces on the casting shall be made into a fillet. For the compression molding parts, the fillet can ensure that the raw materials are filled in the compression mold, and it is convenient to take out the parts from the compression mold.
The casting fillet radius is generally 0.2-0.4 times of the wall thickness, which can be found from the relevant standards. The fillet radius of the same casting shall be the same or close as possible.
2. Lift angle
During molding, in order to facilitate the removal of the wood mold from the sand mold, a certain slope is often designed on the inner and outer walls of the casting along the mold lifting direction, which is called the mold lifting slope (or casting slope). The lifting slope is usually 1:100-1:20. When expressed by angle, the manual molding wood pattern is 1 ° – 3 °, the metal pattern is 1 ° – 2 °, and the mechanism molding metal pattern is 0.5 ° – 1 °.
Because there are casting fillets at the intersection of casting surfaces, the intersection line of the surface becomes less obvious. In order to distinguish different surfaces when looking at the drawing, the intersection line in the drawing should still be drawn. This intersection line is usually called the transition line. The drawing method of transition line is basically the same as that of intersection line without fillet.
3. Casting wall thickness
In order to ensure the casting quality of the casting, prevent the loose structure outside the wall thickness due to the uneven wall thickness and the different cooling and crystallization speeds, resulting in shrinkage holes and cracks at the thin and thick parts, the wall thickness of the casting shall be uniform or gradually changed to avoid sudden changes in the wall thickness and local hypertrophy. The difference in wall thickness should not be too large, so the transition slope can be set at the intersection of the two walls. Sometimes the wall thickness may not be noted in the drawing, but may be noted in the technical requirements.
In order to facilitate mold making, molding, sand cleaning, removal of pouring and riser and mechanical processing, the shape of the casting shall be simplified as much as possible, the shape shall be as straight as possible, and the concave convex structure shall be reduced on the inner wall. Casting defects such as cracks and shrinkage cavities are easy to occur if the thickness of the casting is too thick, but the strength of the casting is not enough if the thickness is too thin. In order to avoid the influence of the thickness reduction on the strength, the reinforcing rib can be used to compensate.


